Immich – Post Installation
Register the admin user
The first user to register will be the admin user. The admin user will be able to add other users to the application.
To register for the admin user, access the web application at:
http://<machine-ip-address>:2283and click on the Getting Started button.
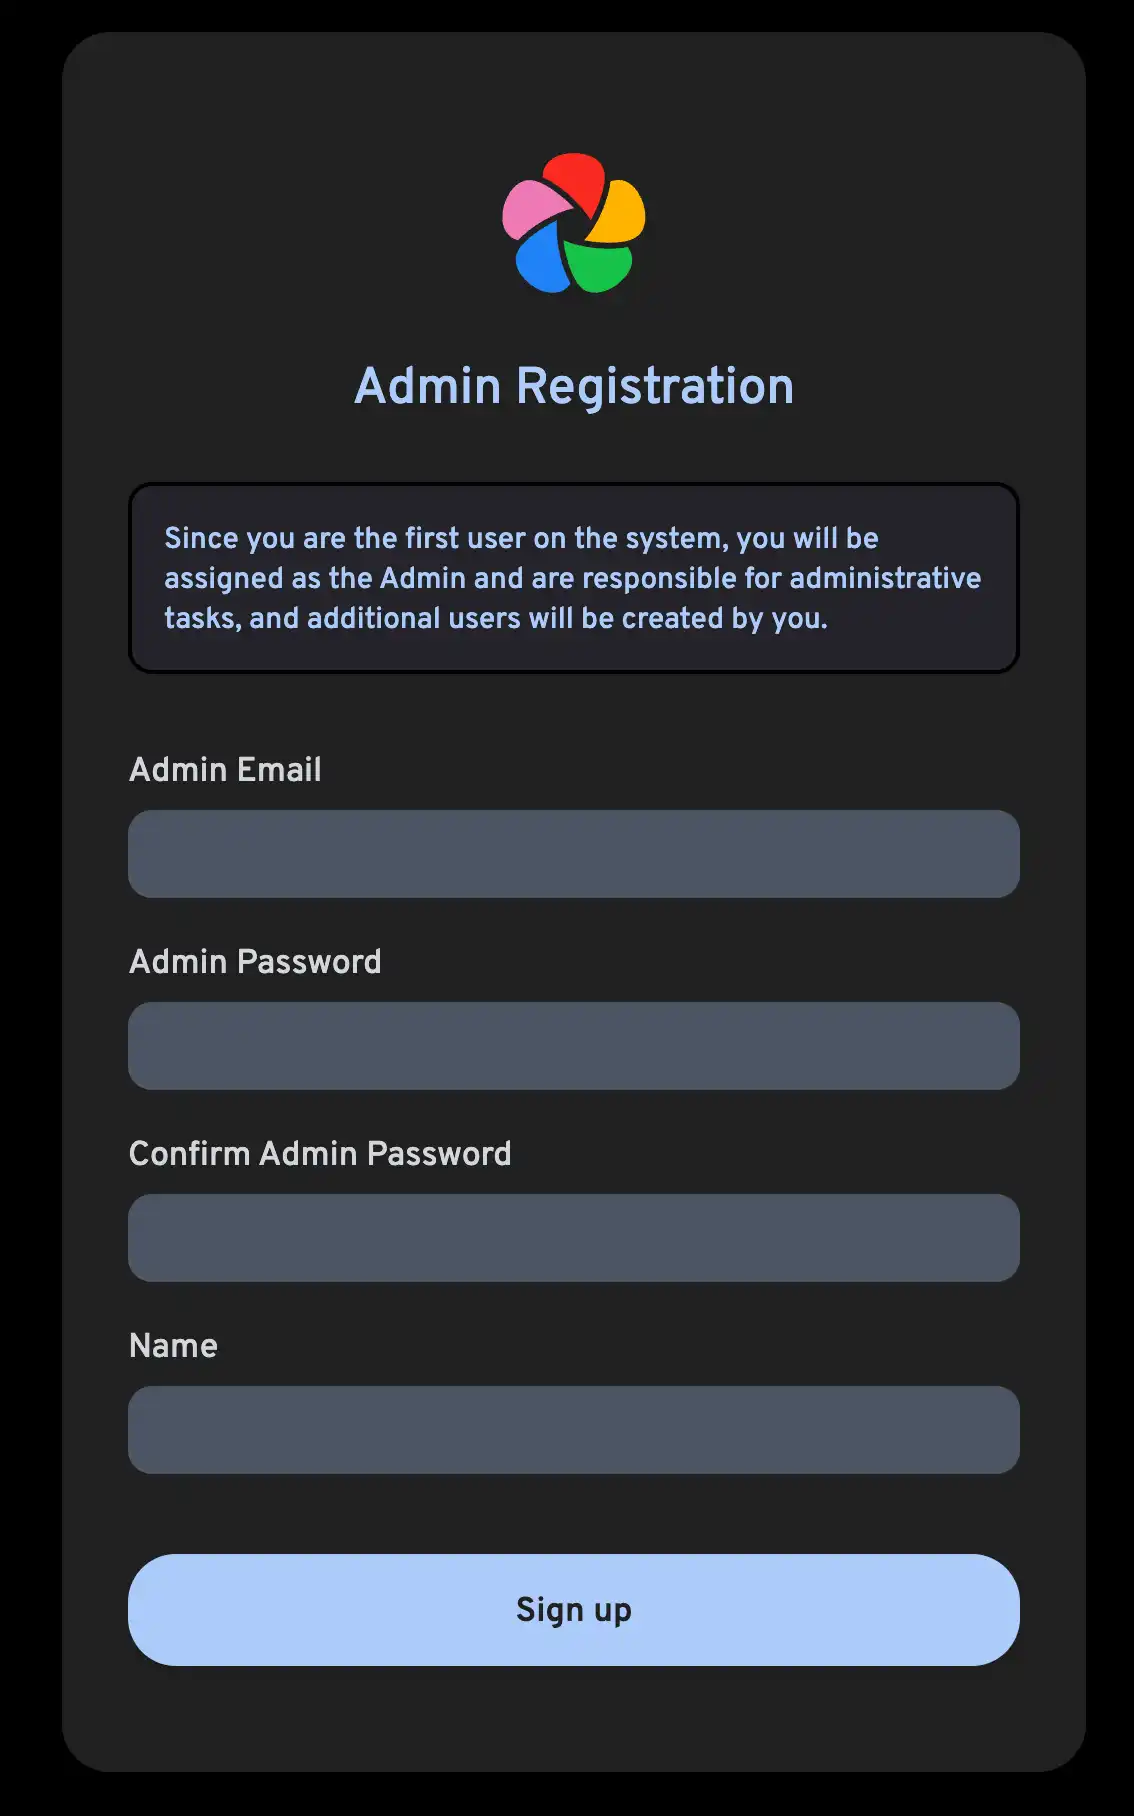
Follow the prompts to register as the admin user and log in to the application.
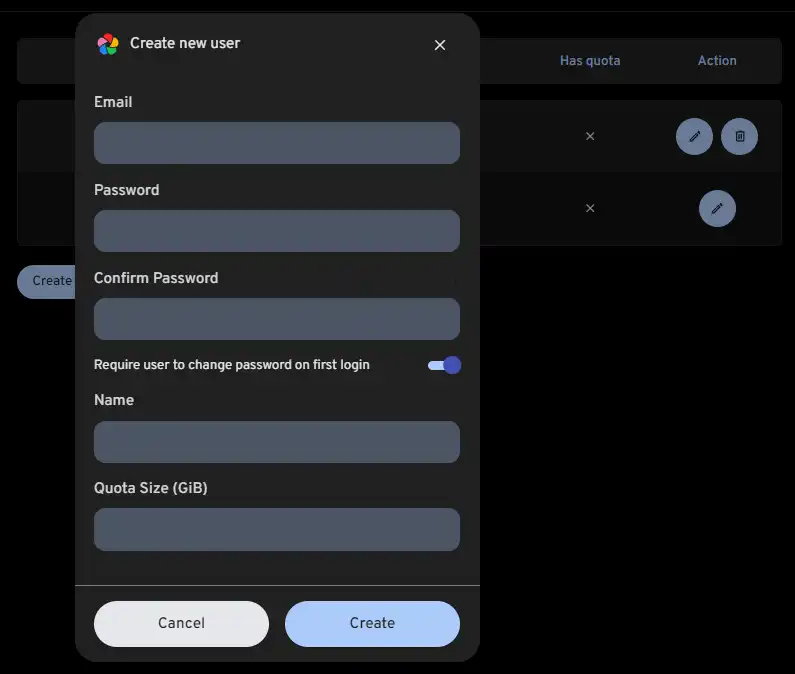
Create additional users
If you have friends or family members who want to use the application as well, you can create additional accounts for them.
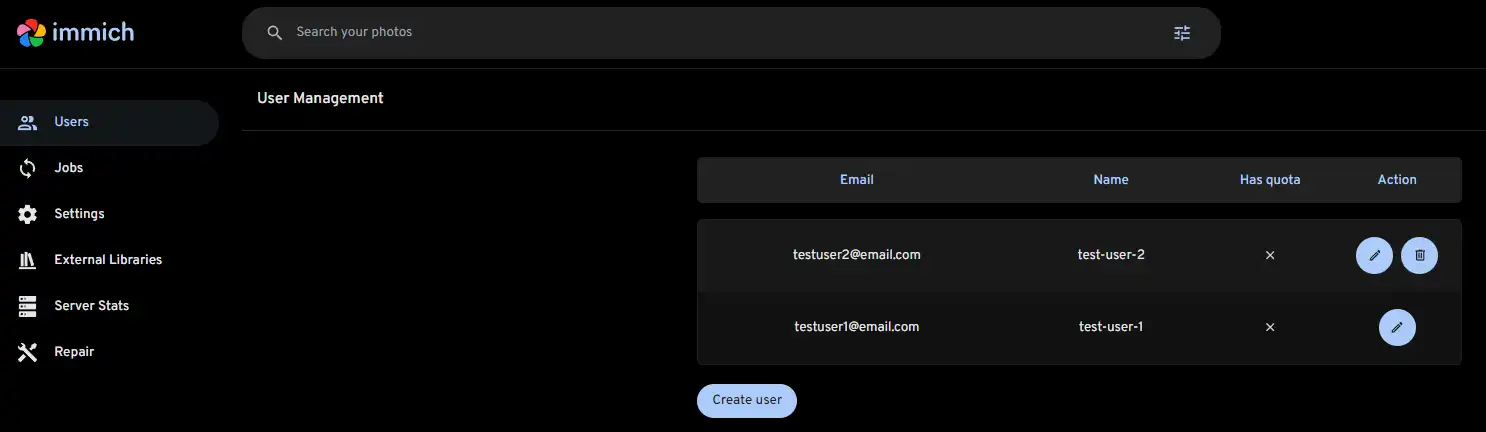
In the Administration panel, you can click on the Create user button, and you’ll be presented with the following dialog:
Download the mobile app
The mobile app can be downloaded from the following places:
- Obtainium: You can get your Obtainium config link from the Utilities page of your Immich server.
- Google Play Store
- Apple App Store
- F-Droid
- GitHub Releases (apk)
Log in to the mobile app
Login to the mobile app with the server endpoint URL:
http://<machine-ip-address>:2283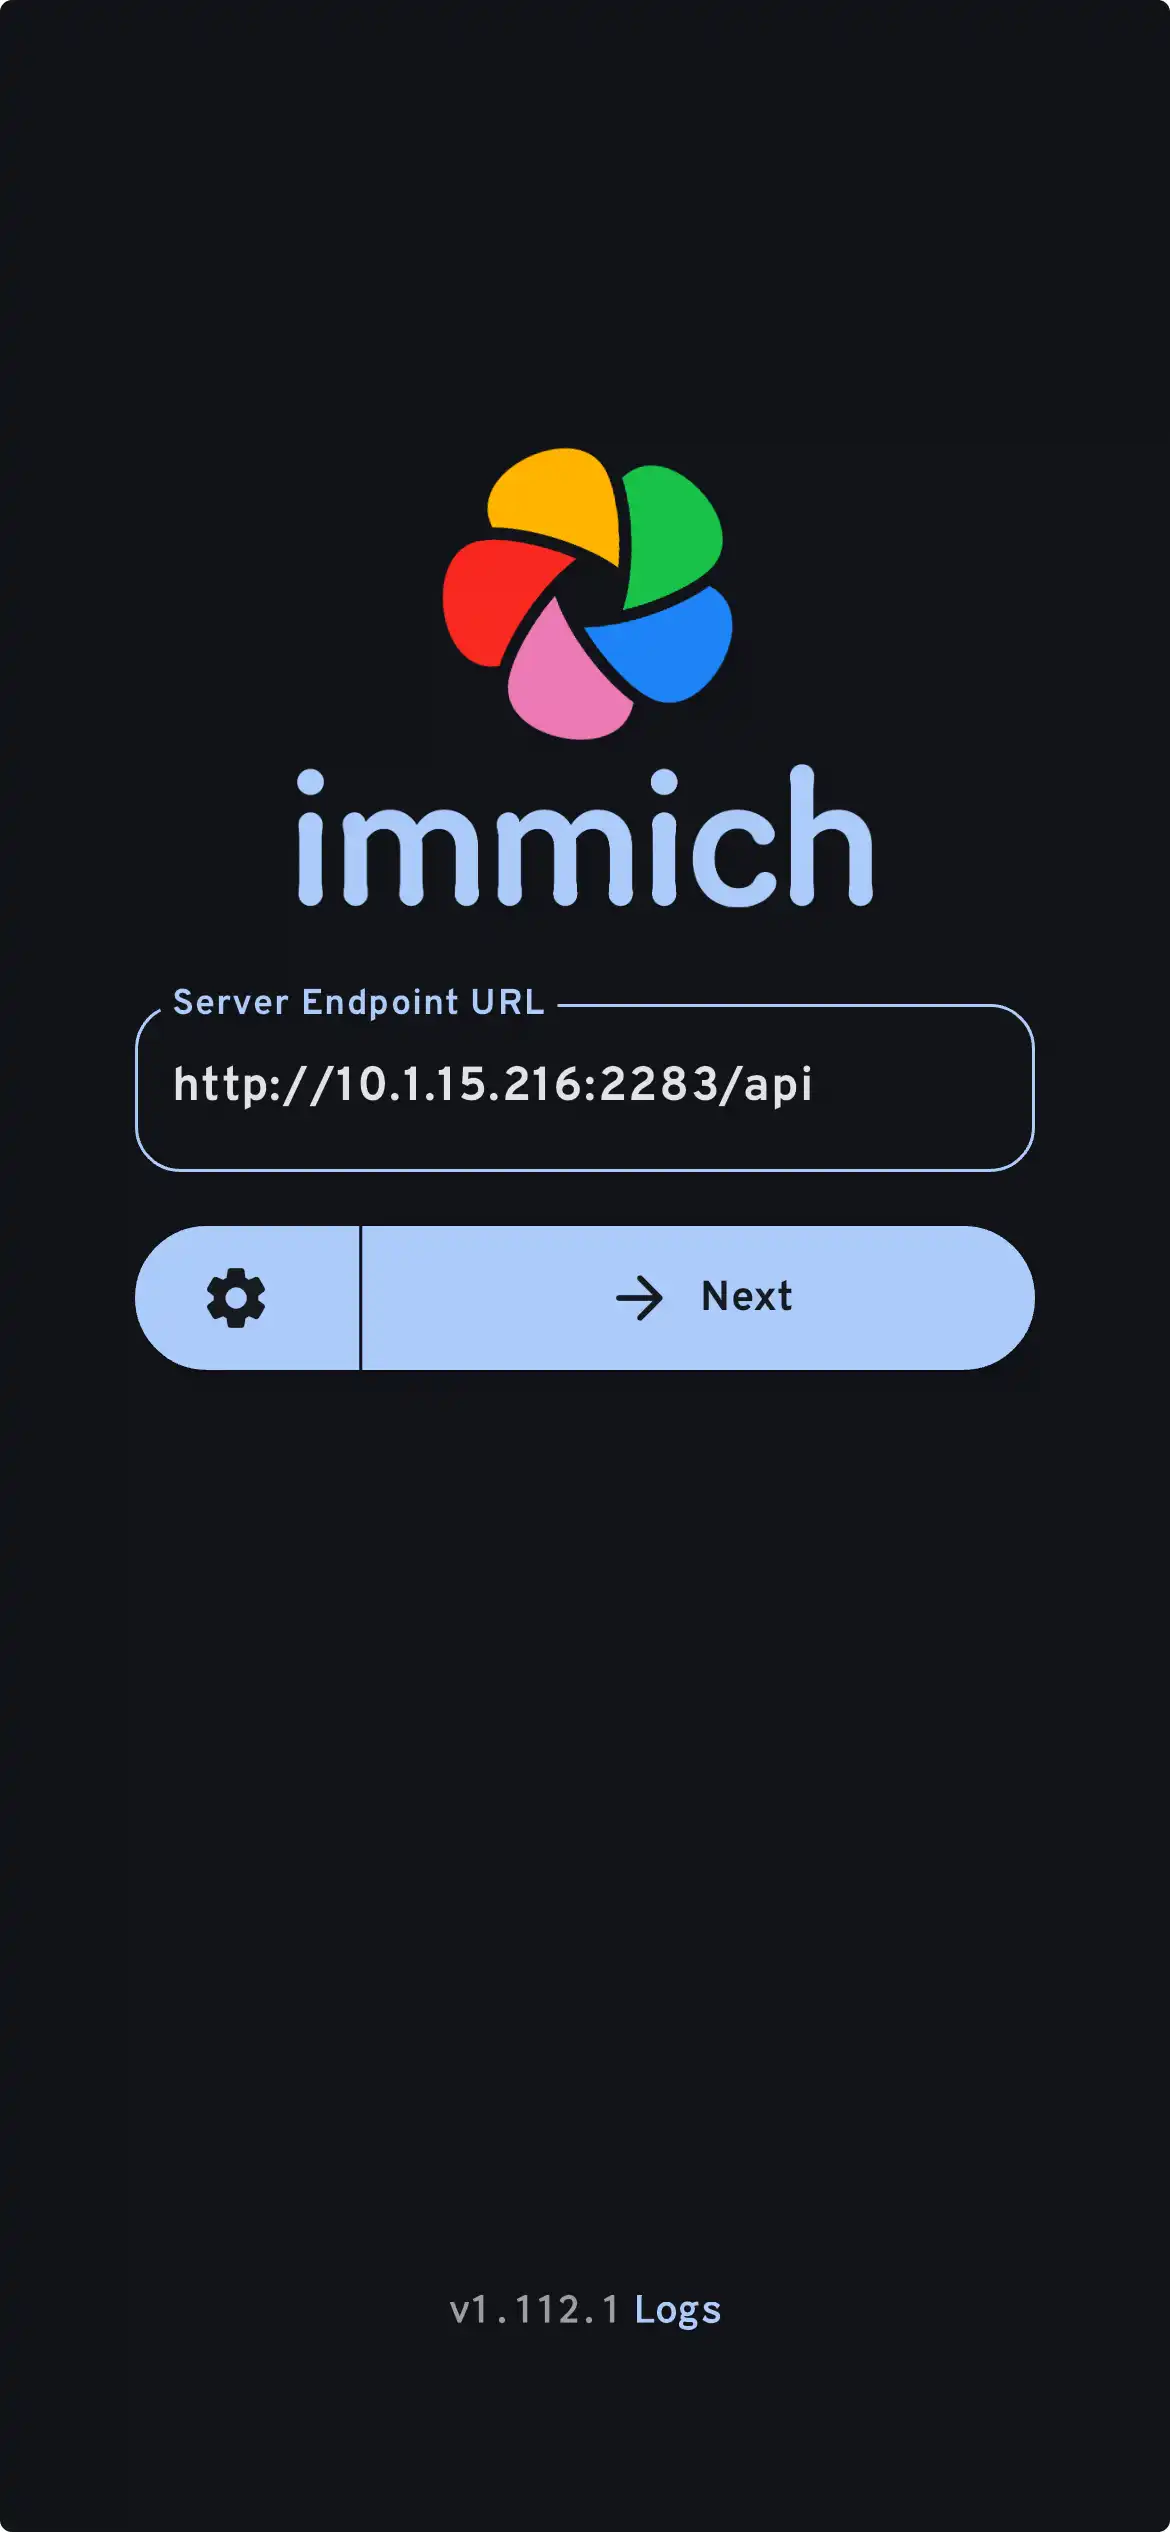
Configure mobile app backup
-
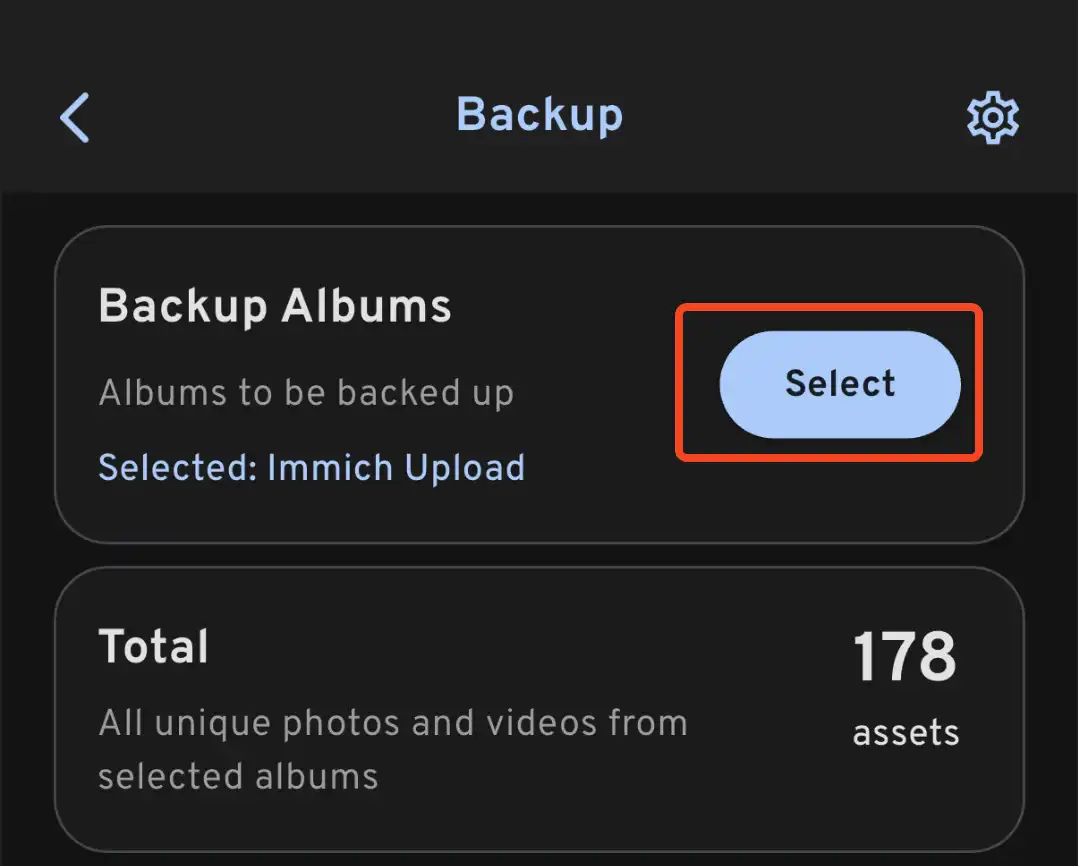
Navigate to the backup screen by clicking on the cloud icon in the top right corner of the screen.

-
You can select which album(s) you want to back up to the Immich server from the backup screen.
-
Scroll down to the bottom and press Start Backup to start the backup process. This will upload all the assets in the selected albums.
Server backup
Now that you have imported some pictures, you should set up server backups to preserve your memories. You can do so by following the official backup guide.
INFO
A 3-2-1 backup strategy is still crucial. The team has the responsibility to ensure that the application doesn’t cause loss of your precious memories; however, we cannot guarantee that hard drives will not fail, or an electrical event causes unexpected shutdown of your server/system, leading to data loss.
Therefore, we still encourage users to follow best practices when safeguarding their data. Keep multiple copies of your most precious data: at least two local copies and one copy offsite in cold storage.
Storage template
Immich allows the admin user to set the uploaded filename pattern at the directory and filename level as well as the storage label for a user.
TIP
You can read more about the differences between storage template engine on and off here.
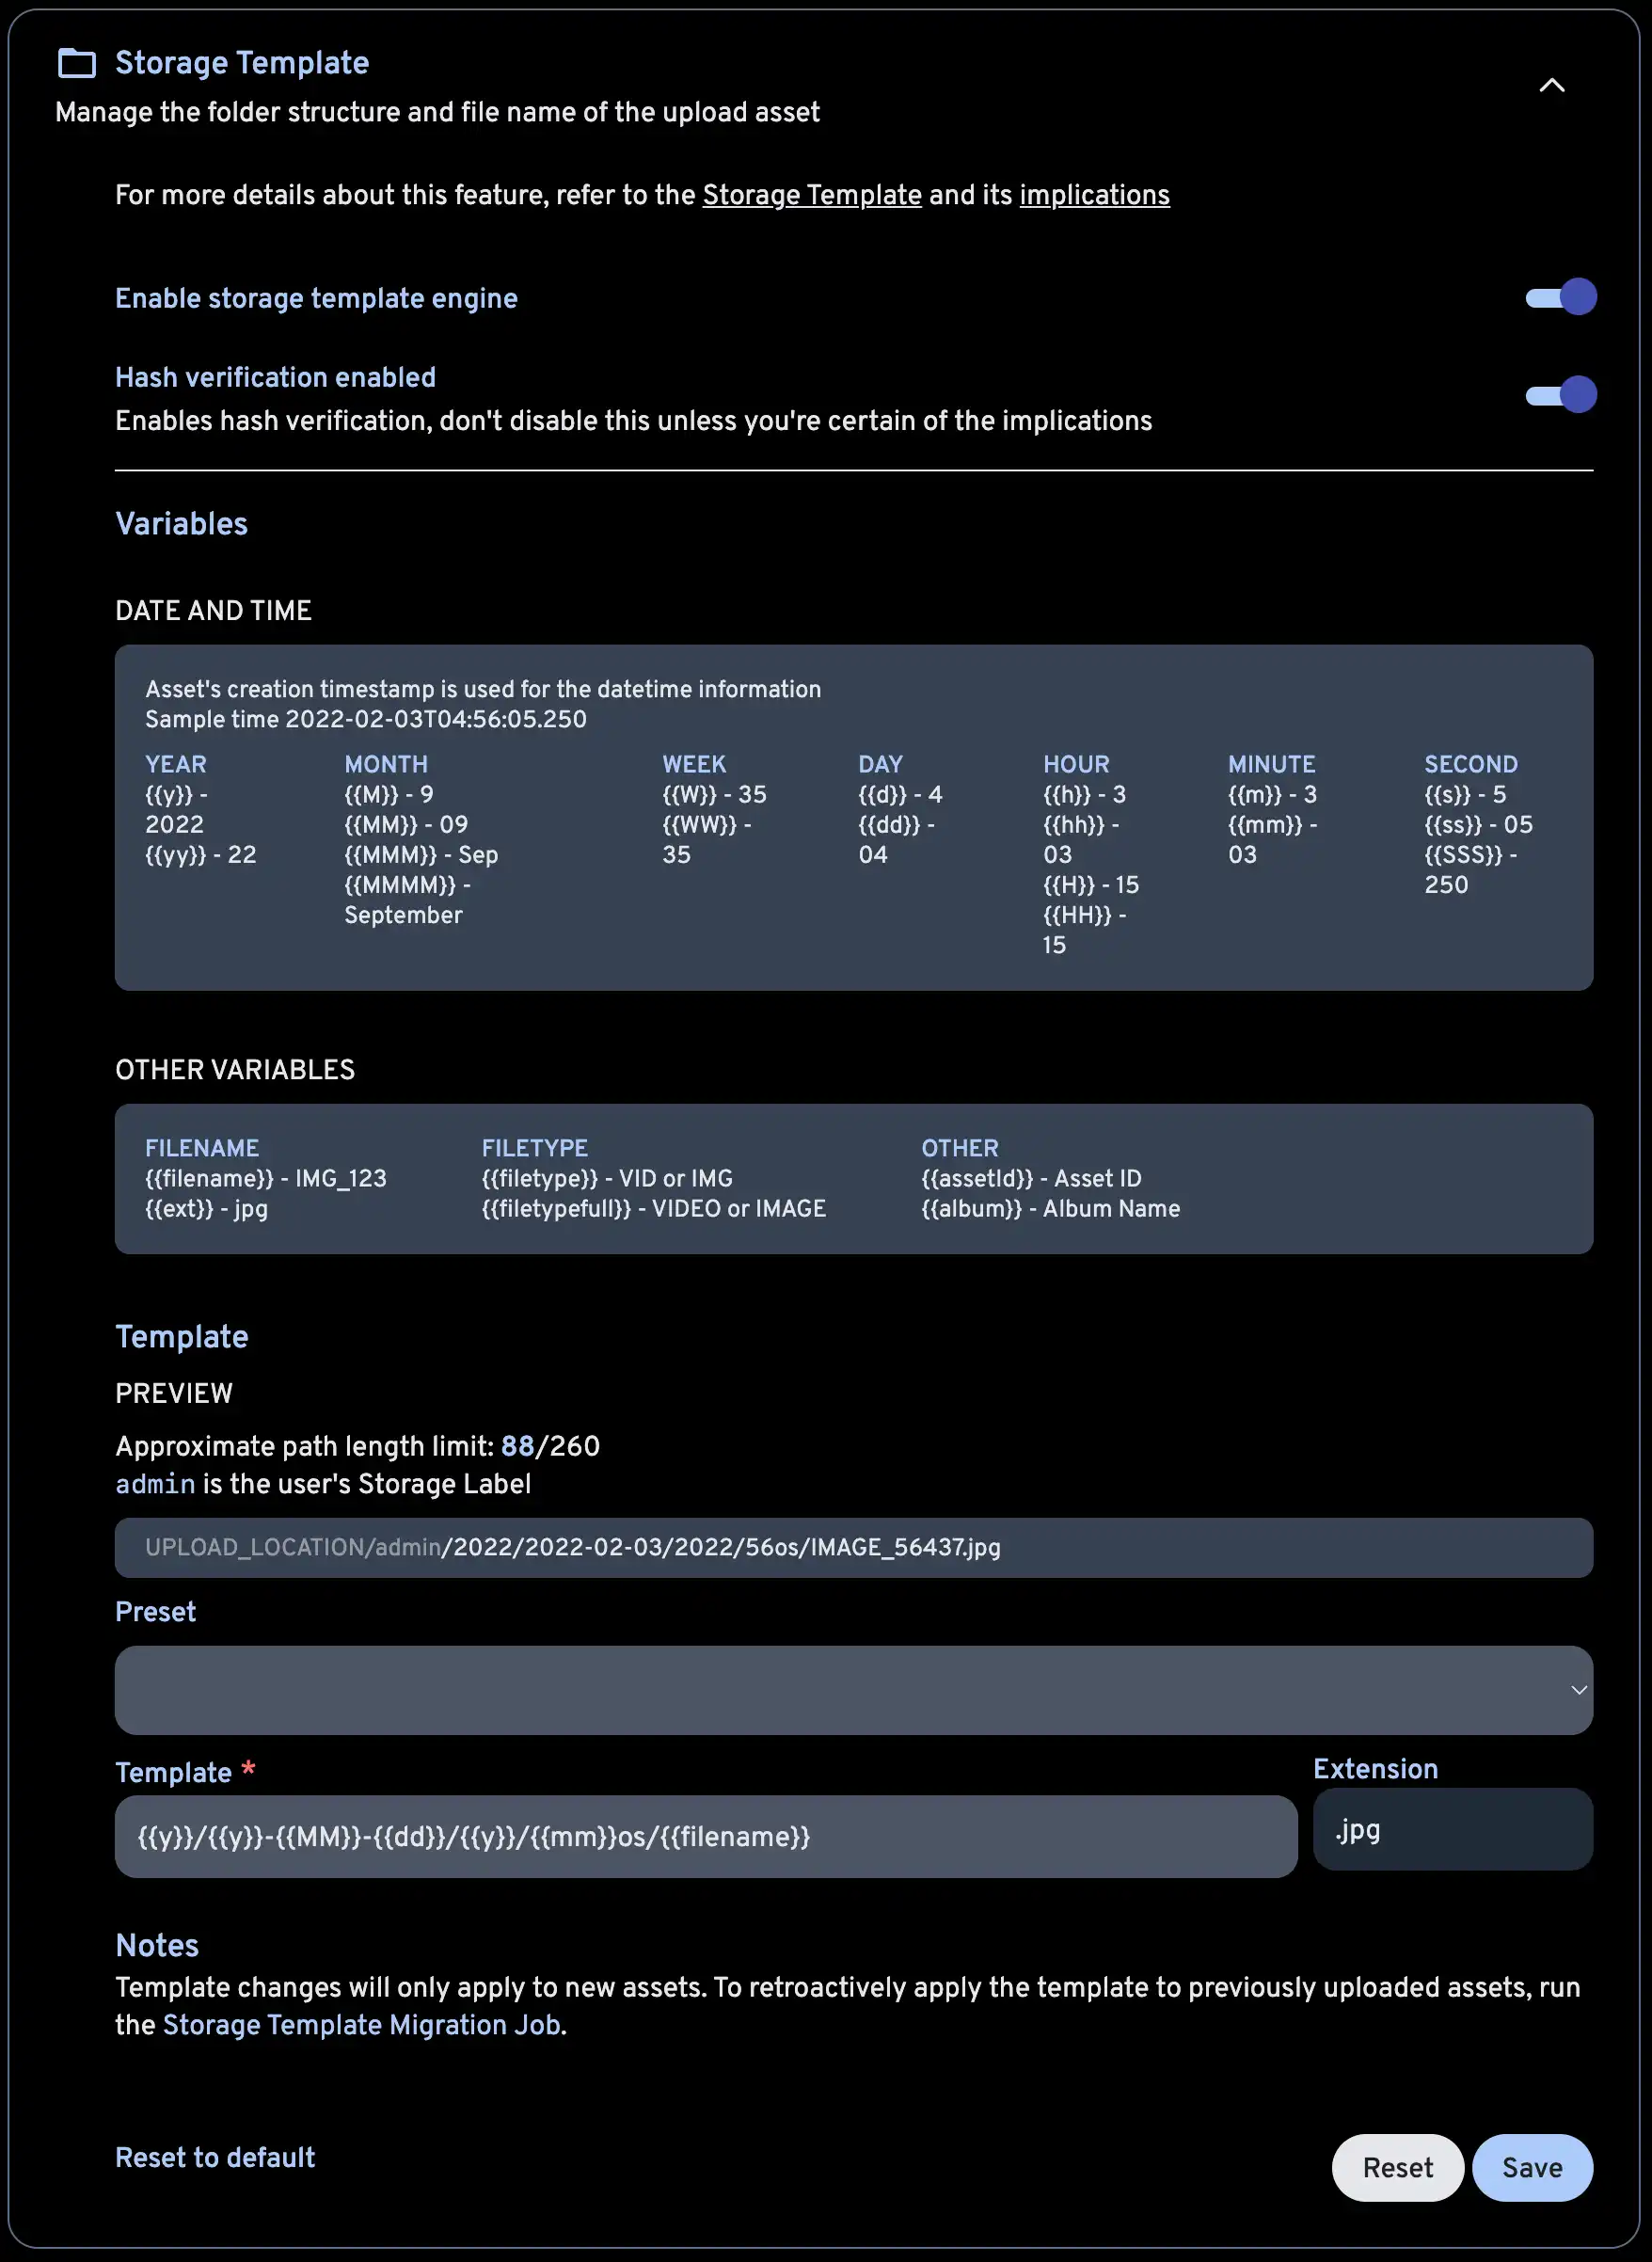
The admin user can set the template by using the template builder in:
Administration -> Settings -> Storage TemplateImmich provides a set of variables that you can use in constructing the template, along with additional custom text. If the template produces multiple files with the same filename, they won’t be overwritten as a sequence number is appended to the filename.
# Default template
Year/Year-Month-Day/Filename.Extension
If you want to change the storage template during the initial setup, first enable the feature.
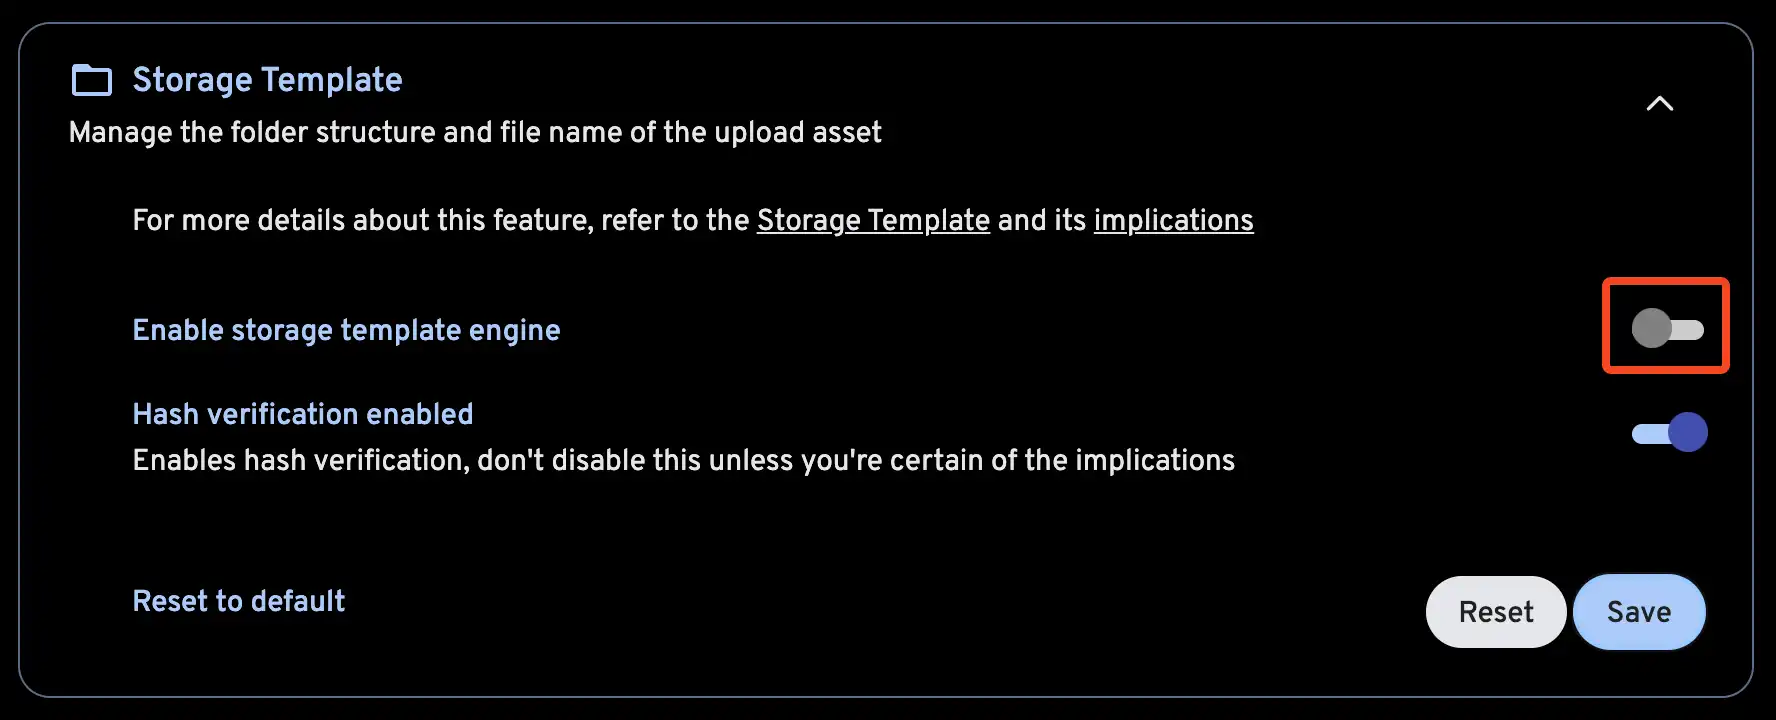
Then, customize your storage template.
INFO
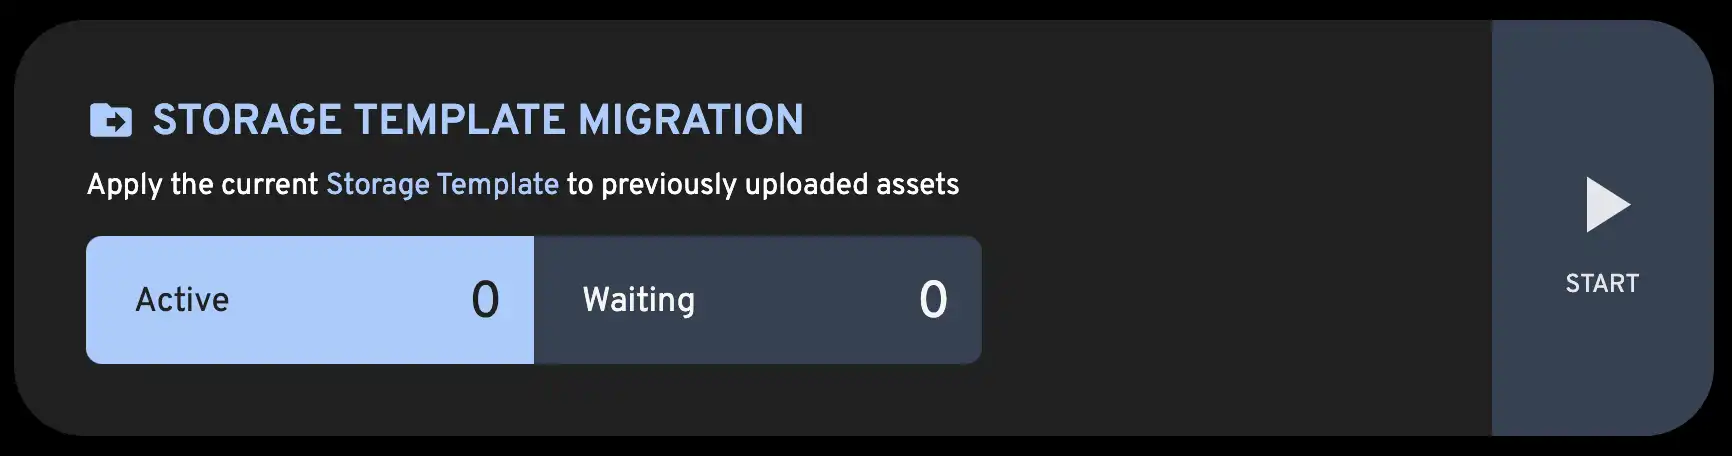
The
Storage Template Migrationjob can be run after enabling this feature or changing the template, in order to apply the changes to the existing library.
TIP
If an asset is in multiple albums,
{{album}}will be set to the name of the album which was most recently created. By default, special characters will be converted to an HTML entity (for example,&→&). To prevent this, wrap the variable in an extra set of braces (for example,{{{album}}}). You can learn more about this here and here.
Immich also provides a mechanism to migrate between templates so that if the template you set now doesn’t work in the future, you can always migrate all the existing files to the new template. The mechanism is run as a job on the Job page.
If you want to store assets in album folders, but you also have assets that do not belong to any album, you can use {{#if album}}, {{else}} and {{/if}} to create a conditional statement. For example, the following template will store assets in album folders if they belong to an album, and in a folder named Other/Month if they do not belong to an album:
{{y}}/{{#if album}}{{album}}{{else}}Other{{/if}}/{{MM}}/{{filename}}