We will restore your backup onto a new Immich instance.
Ensure the contents from your old instance are already placed in the correct directories of the new instance.
CAUTION
Some steps below delete data. Double‑check your paths and ensure you have made a backup of your data(The 3-2-1 Backup Method).
Step 1 — SSH into your host
Use your preferred SSH client (e.g., Termius).
Step 2: Verify there is no database corruption
Check for database corruption
sudo docker exec -it <DB_CONTAINER> psql --dbname=<DB_NAME> --username=<DB_USER> --command="SELECT datname, checksum_failures, checksum_last_failure FROM pg_stat_database WHERE datname IS NOT NULL"
Placeholders:
<DB_CONTAINER>— e.g.,immich_postgres<DB_NAME>— e.g.,immich<DB_USER>— e.g.,immichuser
Scan for file structure errors
docker exec -it <DB_CONTAINER> pg_amcheck --username=<DB_USER> --heapallindexed --parent-check --rootdescend --progress --all --install-missing
Placeholders:
<DB_CONTAINER>— e.g.,immich_postgres<DB_USER>— e.g.,immichuser
A normal result will end something like this and return with an exit code of 0:
7470/8832 relations (84%), 730829/734735 pages (99%)
8425/8832 relations (95%), 734367/734735 pages (99%)
8832/8832 relations (100%), 734735/734735 pages (100%)
Step 3: Stop and remove existing containers and volumes
Change directory to your Immich master folder and bring the stack down:
cd <MASTER_DIR>
docker compose down -v
CAUTION
-vremoves named volumes. This wipes Immich data. Be certain you have a backup.
It should look similar to:

Step 4: Reset the database data directory
Delete only the contents of the DB data folder (keep the folder itself):
# If you are already in <MASTER_DIR>
rm -rf <DB_DATA_DIR>/*
Then verify the db folder still exists and is empty.
INFO
You can also manually delete the contents of the db folder, without using SSH Command Line
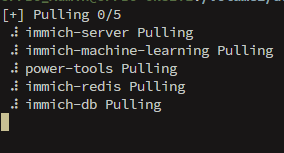
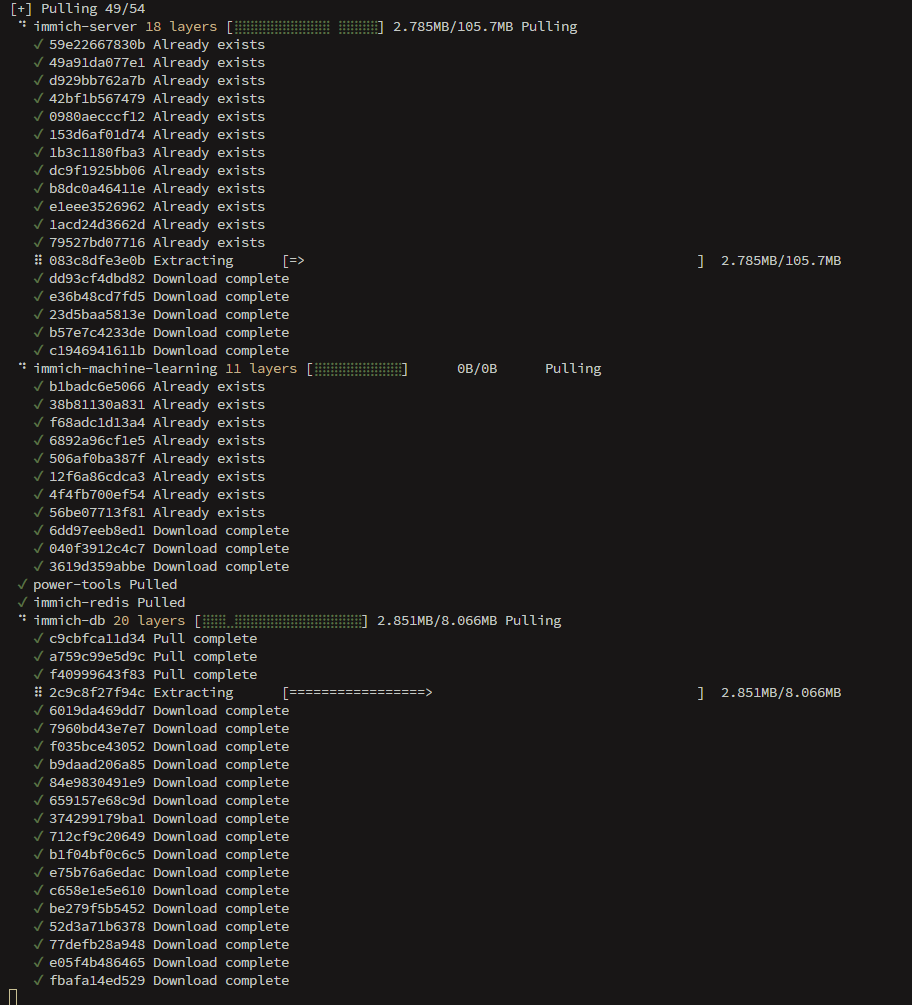
Step 5: Pull images and create containers (do not start yet)
cd <MASTER_DIR>
docker compose pull
# After the pull is done:
docker compose create
Wait for pulls and creation to finish. (Pulling also updates you to the latest Immich images if desired.) It should look like this:

Step 6: Start only the database container
Start the Postgres container by name:
docker start <DB_CONTAINER>
# Example: docker start immich_postgres
Wait until it is running. SSH will echo your container name, in my case:
Step 7: Restore the database dump
Run the restore from the host, piping the dump into the running DB container. Adjust all placeholders. Make sure you CD into the master dir first using:
cd <MASTER_DIR>
Then run the following script, but remember to adjust the placeholders! Placeholders:
<DUMP_FILE>— e.g.,<MASTER_DIR>/upload/backups/your_dump.sql.gz<DB_CONTAINER>— e.g.,immich_postgres<DB_NAME>— e.g.,immich<DB_USER>— e.g.,immichuser
gunzip -c "<DUMP_FILE>" \
| sed "s/SELECT pg_catalog.set_config('search_path', '', false);/SELECT pg_catalog.set_config('search_path', 'public, pg_catalog', true);/g" \
| sudo docker exec -i <DB_CONTAINER> psql -d <DB_NAME> -U <DB_USER>
Example:
gunzip -c "/volume1/docker/immich/upload/backups/immich-db-backup-20250930T000000-v1.143.1-pg16.10.sql.gz" \
| sed "s/SELECT pg_catalog.set_config('search_path', '', false);/SELECT pg_catalog.set_config('search_path', 'public, pg_catalog', true);/g" \
| sudo docker exec -i Immich-DB psql -d immich -U immichuser
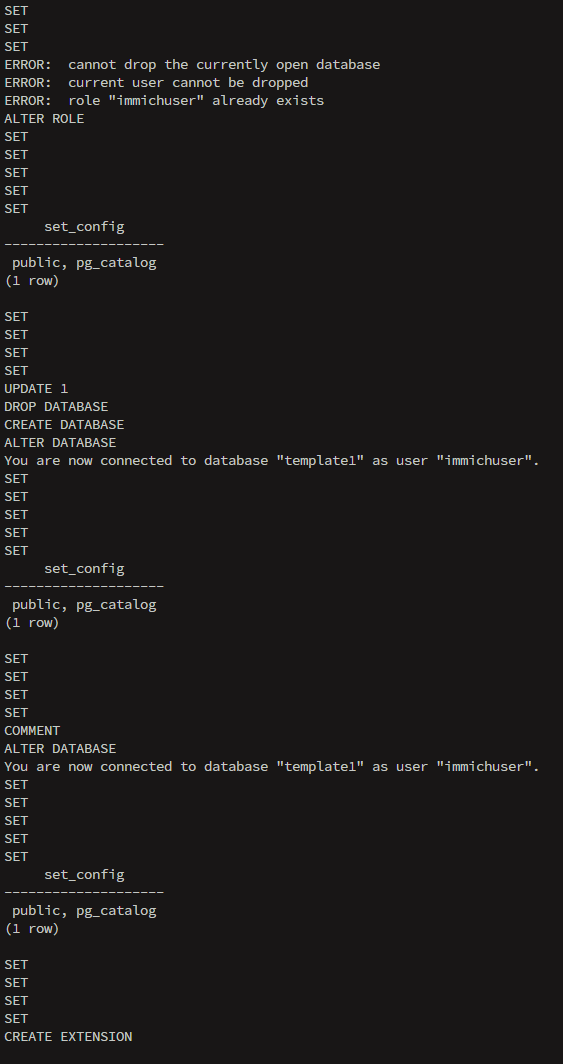
You should see restore progress in your terminal.(WAIT UNTIL YOU SEE YOUR SSH USER LINE AGAIN):
Step 8: Start the rest of the stack
When the restore has finished successfully:
cd <MASTER_DIR>
docker compose up -d
Give the services time to start and complete migrations. Startup will look like this:
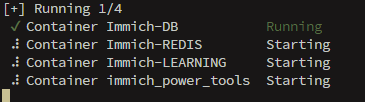
INFO
It will take some time for every service to start and then to fully migrate, dont panic when you cant connect after only 1 minute
Wrap‑up
SUCCESS
Enjoy your restored Immich instance 🎉
TIP
Sources: Database integrity